This article is part of the 31 Days of Pinterest Hacks series. Find the main page for this series here.
These drawing tips guide the discouraged adult who finds ideas on Pinterest meant for the child who can hold a pencil and design like Leonardo DaVinci.
Why drawing may be a challenge for neurodivergent and disabled children
- Drawing requires advanced fine motor skills, which may be demanding for a child who cannot yet maintain a neat pincer grasp.
- Drawing calls for good eye-hand coordination.
- Drawing requires concentration and attention, which is difficult for the child who has trouble remaining focused.
Suggestions for adaptations/ modifications for drawing
- Just because you assume they can’t doesn’t mean they won’t. If there is one thing I’ve learned while attempting to have my son practice with drawing tools, it’s never to assume. I have been surprised repeatedly how using the right tools helps develop the skills he may require more support with. Rather than harping on the fact that my son can’t hold a pencil because he hasn’t perfected the pincer grasp, I tried to find tools that could motivate him enough to want to do the activity while inadvertently practicing the pincer grasp! You can use various drawing tools to maintain attention while building fine motor skills.
- Begin slowly. We sometimes want to rush things because we see the end goal and feel that to get there, we’ll need to skip some steps. Remember that the steps are where most of the learning is happening. Honor the process and remind yourself that the child’s brain and body are working the hardest right now.
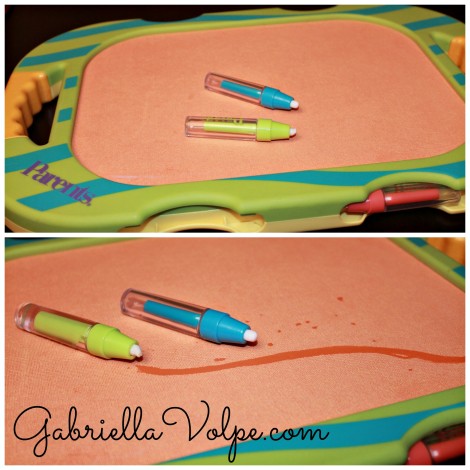
This toy is one of the first drawing tools I introduced to my son. It works with water on a fabric surface. Water is poured into the “pen,” and you glide it over the surface to draw. You can flip the board over to a fresh new fabric while the first side dries and the image disappears.
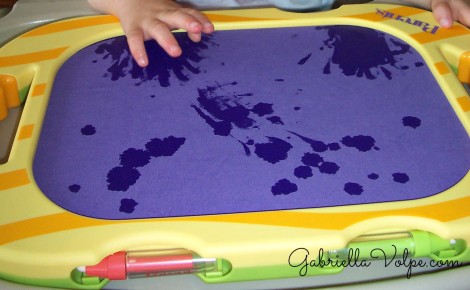
I use this toy without the pen tools but with wet fingertips instead. My son, who has tactile sensory aversions to certain textures, doesn’t mind water on his hands (different from paint on the hands). To get him to touch the surface, I had him tap, tap, tap like on a drum (because he already knows to do that).
- Introduce the drawing tools ahead of time. If the child cannot hold a drawing tool, build on the prerequisites for drawing first. Manipulation of the tool even before it’s used on paper is recommended. I find that introducing new items to my son and having him familiarize himself with them helps when using them. This way, he’s not taking in too many tasks in one session.
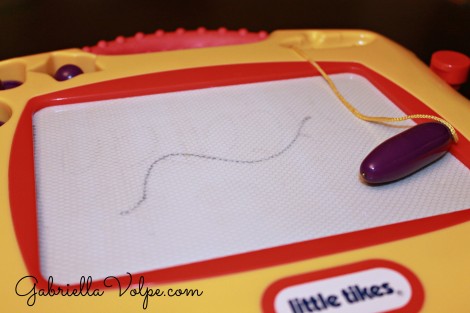
This magnetic drawing toy allows for great exposure and practice before using authentic drawing tools.
- Connect the object to a sound/exclamatory word and with a corresponding movement. Since a drawing tool is used by hand, I like to exaggerate the movement with the hand and assign it a sound I think that tool would make. For instance, a pencil might make an “shhk, shhk, shhk” sound (at least to me), so I’ll officially make that the drawing sound that will accompany the exaggerated movement of flowing the hand horizontally from side to side. Even if in future we’d use a crayon, which may be more silent, that is still going to be the drawing sound. Remember that I assigned the “zoom, zoom, zoom” exclamation to paint from side to side and “tap, tap, tap, tap” when stamping the painting. I keep them consistent so that my son makes the connection between the movement (with the hand/arm), the verbal routine (the sound) and the skill action (drawing, painting, stamping, cutting, etc.) You can bet that when I pull out a crayon, my kiddo is already doing the movement with his arm telling me that he’s recognized what we’re going to do and how we’re going to do it—and we haven’t even done it yet!
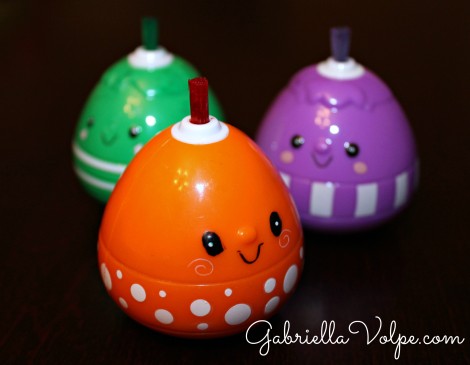
These paint-filled gadgets allow colors to spill on paper while the child holds the ball.
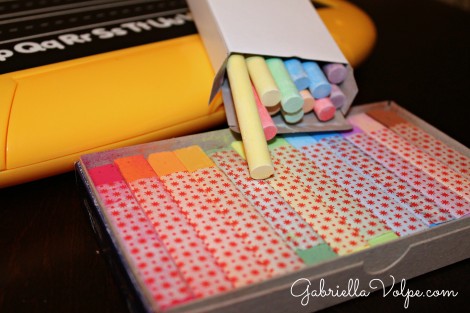
Chalk also makes for great drawing tools. It can be used on paper as well as on chalkboard.
- Find the ideal positioning. As with all other activities that require the development of fine motor skills, ensure that the child’s trunk and lower body are supported. If an adapted chair is available, use that. You might already own an inflatable sensory chair cushion for a child who needs to wiggle and move around while working on a task. Consider using it while drawing as well.
- Begin with easy-mark drawing tools. While crayons may be the first drawing tool for most children, when it comes to a child requiring extensive fine motor support, this is a challenging tool to start with because it requires a lot of strength to get the colors on paper. Try it yourself and pay attention to how much pressure you need to apply to make a mark. Instead, begin with tools that mark easily like a marker. While many kindergarten teachers might cringe at having young ones use a marker, it only makes sense that a marker should be one of the first tools they use when making streaks on paper! Don’t expect the child to hold the tool properly yet. Holding it in their fist and jabbing at a paper is a sensible place to start. Since you’ve practiced the verbal routines along with the movements, you could have the child move the marker up and down (exaggerated movements when practicing) and repeat, “Dot, dot, dot, dot” or “Jab, jab, jab, jab.” Eventually, work up to an “sshk, shhk, shhk” side-to-side movement and “squiggle, squiggle” when drawing curvy lines. My little guy likes the word “squiggle.”
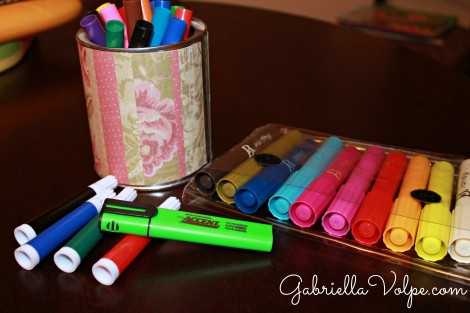
Markers easily glide on paper. They can also be used in a fist to “jab” or “dot” the paper. Try a variety of thicknesses, sizes and shapes. Highlighters are wide and flat. Child-sized markers are small and thin. Adult-sized markers are thick and long. Don’t forget about dry-erase markers that can be used on a whiteboard.
- Use drawing tools of different shapes and sizes. Even though crayons are difficult to draw with, you’ll be surprised if you locate crayons of different shapes and sizes! Triangular, rectangular, cone-shaped, or round crayons might work best. You can find a variety of options on the market.
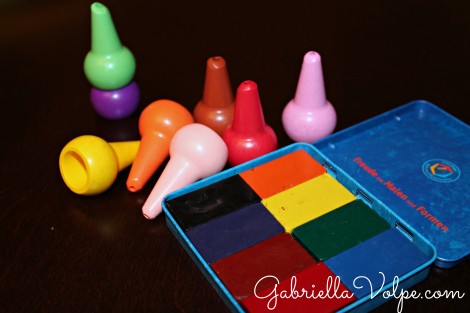
These are differently-shaped crayons that are somewhat easier to hold in hand.
- Offer a large drawing surface. Provide a large sheet of paper and adhere it to the table/drawing surface to ensure that it won’t slip and slide while the child “shhk, shhk, shhks.”
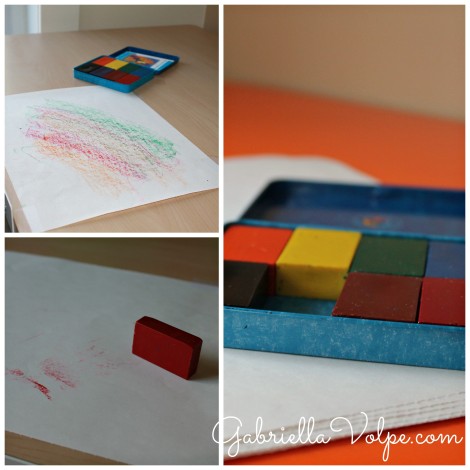
When drawing with beeswax block crayons, use the entire edge of the crayon rather than the thin-lined edge. Have the child practice shading rather than line drawing first since shading takes up more space on the page in fewer strokes. We practiced this hand-over-hand (with consent) as we “shhk, shhk, shhked” across the page. We repeated with several colors.
- Consider hiring an art therapist. Whether you want to see the child paint or draw, you might find that having the support of an art therapist (who is also trained in helping the child with fine motor development through art) would be a unique addition to the child’s life. I’ve observed several art therapists in my years in the classroom, and it’s just remarkable what they can bring out in neurodivergent and disabled children.
How do you adapt drawing activities?
Are you looking for personalized direction? We can work through them in a one-on-one consultation.
Related Article:

Great article with practical suggestions.
I find that my son can not bear to hold a chalk as it is dusty and stains his hands. However, he is content to use a chalk holder as he does not have to deal with the “messy” part.
It’s interesting because I have that same aversion to chalk and have always used a chalk holder as a teacher. Sometimes, the exposure to the new texture is good, but not if it stops the child from ever enjoying projects that incorporate that tool (like sidewalk drawings in summer). Thanks for sharing that tip with us. It will surely help other families!