This article is part of the 31 Days of Pinterest Hacks series. Find the main page for this series here.
Many toys on the market today aim to “teach” babies and toddlers shapes and colors—among other skills. They sell parents the idea that young children can comprehend these abstract concepts.
Activities pinned on Pinterest tend to do the same for early childhood learners. When we come across these, we assume that all children must learn shapes and colors in preschool (or at this developmental level). What if I challenge you in this article? What if I tell you that you can skip “teaching” shapes and colors to a neurodivergent or disabled child?
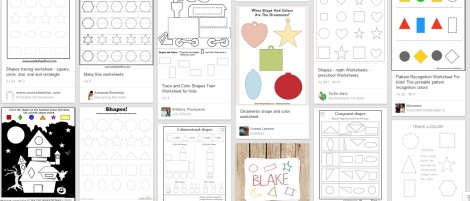
Shape and color worksheets should be avoided with neurodivergent or disabled children until they fully understand these concepts.
You’re not skipping shapes and colors altogether. However, it’s not necessary for children to master these concepts—specifically if they are not developmentally ready. Just because publishing companies suggest all kids need to learn shapes and colors doesn’t mean you need to begin there with the child you support.
Why the concepts of shape and color may be a challenge for neurodivergent and disabled children
- Color is an abstract concept. Concrete thinkers may struggle with abstract concepts.
- Shape is an early numeracy concept. Like most numeracy concepts, shapes, too, are abstract.
- Children requiring fine motor and eye-hand coordination support may find drawing shapes challenging.
- Distinguishing colors is difficult for children who are color-blind.
While it may be a challenge to learn these concepts, there are ways you can expose a child to the concepts. However, unless you know that the child is at this developmental stage, do not make it a goal for them to know how to name, point, sort, match, compare, or reproduce shapes and colors. You’d be setting up the child for frustration.
Sequence for learning about shapes and colors
Shapes
- Explore shapes in our world. Since figures are all around us, the child is already internalizing differences in the objects they touch and see. Allow them to explore in this way without needing to label the shapes.
- Different colors, same shape. In a sensory bin, offer objects of one shape in various colors for the child to explore. If you choose circles, find as many circular objects as possible to place in the sensory bin. The colors and size do not matter as long as they are all circular. Allow about a week to explore these objects until the child internalizes the shape. You can begin to use the word “circle” as you pick up the objects and feel them “Round, round, round. Circle.” Point out circles in the child’s world for the rest of the week. Change to another shape in different colors the following week, and so on.
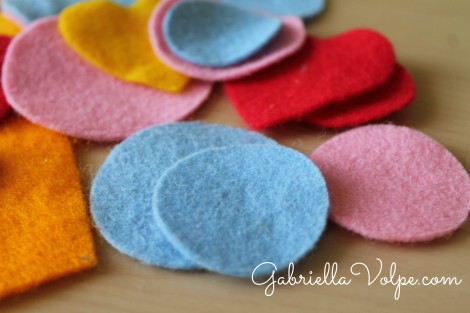
Felt shapes can be used in a sensory bin or on a flannel board as long as it’s the same shape, even if color and sizes differ.
- Explore shapes in books. Be careful with too many shapes being pointed out at once. Books intended to teach shapes will bombard a child with all of the shapes in one book. Instead, take control of that book and, while exploring circles that week, only go to the circle pages in the book. There is no rule that states you have to read an entire book front to back—especially non-fiction books. “Ooh, look. Circle. Round, round, round. Circle,” while you trace the circles and the child observes. Repeat with other shapes the following week.
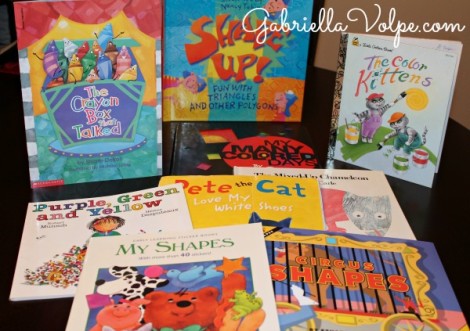
You can find a variety of shapes and color books on the market. If you look through a shape book, don’t read it front to back. Use it to point out the one shape you are highlighting that week.
- Trace the shapes. Eventually have the child trace the shapes themselves. Since they’ve observed you do this, you can guide them hand-over-hand (with consent), tracing circles in a book or if an object is flat enough. Repeat your verbal routine. “Ooh, Look. Circle. Round, round, round. Circle.” Repeat with other shapes the following week.
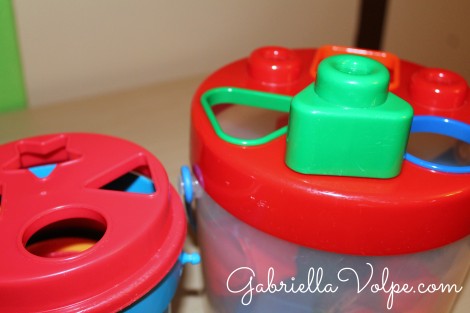
Shape sorters can be confusing at this stage. For the time being, use the shapes in your sensory bins (according to the instructions above), but do not have the child try to fit the shapes into the hole. That would be working on a more advanced skill they are not yet working on.
- Draw the shapes. Finally, have the child draw the shapes. Do not go to pencil and paper as this would then become handwriting skill practice. Draw the shapes in the air with a pointer finger, hand or foot (guide hand-over-hand, or hand-over-foot, with consent), on the floor, and, if the child can tolerate it, in the sand, in playdough, in flour, in sugar, etc. Let the child internalize the forms with their body. Then, move on to doing the same with a tool in their hand. Using a stick, a flashlight, a rhythm stick, etc., guide the child’s hand (with consent) as they draw the shapes in the air, on the floor, on the wall, etc. Again, use the verbal routine, “Circle. Round, round, round. Circle.” Repeat with other shapes the following week.
Colors
- Explore colors in our world. Just like shapes, encourage the child to take in the colors of the world. Children’s toys are full of them, but also, those nature walks provide lots of visual stimulation for children. Take it all in without naming the colors. Just explore.
- Different shapes, same color. Again, introducing one color per week (beginning with the primary colors), prepare sensory bins with one color but different kinds of objects. For instance, you can have an entirely yellow bin with yellow balls, yellow cars, yellow scarves, yellow ribbons, yellow stars, etc. The objects and size do not matter, so long as everything is yellow. Let the child internalize the color, begin naming it, and sign it if the child uses ASL. “Yellow. Yellow. Yellow.” Point out yellow in their world for the rest of the week. Repeat with other colors the following week.
- Colors in books. Just like with shapes, you don’t need to read an entire book dedicated to colors. Simply go to the pages with yellow and point to the colors. “Ooh, Look. Yellow. Yellow. Yellow,” as you point to all the yellow on the page. Repeat with other colors the following week.
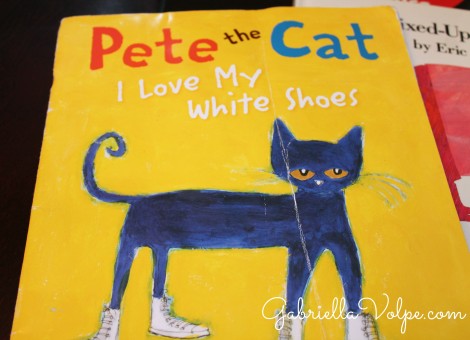
Fictional books such as this one help children learn color words through rhythm and rhyme. While this is great exposure and extremely fun to jive to, hold off on reading this until you’ve introduced each of the colors in the book (as directed in this article).
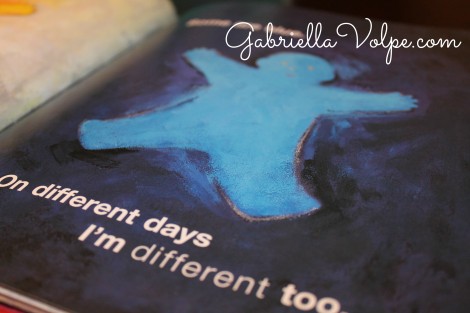
Use color books by pointing out only the pages with the color they’re working on that week.
- Two colors, one shape. To help them discriminate between colors introduce two colors at the same time (after all have been introduced as above) using identical shapes. For instance, you may have two star shapes, but one is red, and the other is yellow. “Red. Yellow,” as you point to each one separately. Dedicate the week to these two colors. Add one more color over time. Do not test the child. Let them observe what you’re doing and saying. They will internalize it through gentle repetition.
- Experiment with color. Working with art materials is a concrete way for the child to interact with color. Just like everything else suggested above, begin with that one color of the week. Only paint with yellow for the entire week. Color with the yellow crayon, play with the yellow playdough, use a yellow marker, etc. It’s OK that everything is yellow, including the trees. You’re introducing that one color and reinforcing it in every way you can without expecting the child to name, point, sort, match, compare or reproduce them. However, if you find that this does begin to happen, it’s time to celebrate! Hurray! You’ve done a thorough job of exposing the child to colors (or shapes)! They’re beginning to transition from abstract to concrete.
Note: I am not a therapist; therefore, if the child is color blind, I highly suggest consulting with their therapist for strategies for dealing with color blindness.
What concerns do you have regarding the teaching of shapes and colors?
Are you looking for additional support? I offer personalized consultations offering ideas such as these!

0 Comments