This article is part of the 31 Days of Pinterest Hacks series. Find the main page for this series here.
Sensory bins. Pinterest is overflowing with them. Seasonal bins. Color-themed bins. Alpha-based bins. Shape-based bins. You name it. There is a sensory bin linked on Pinterest for that!
Of all the activities I find on Pinterest, sensory bins are the ones that sadden me the most because my son just can’t engage with them.
I’m starting this series off with tips for creating and using sensory bins in ways that make them safer and more adapted to neurodivergent and disabled children.
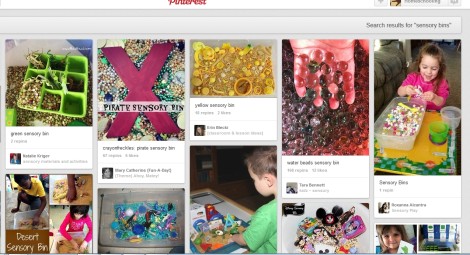
This Pinterest screenshot shows a sample of the variety of sensory bins you can create. Most of these are unsafe for a child who still mouths everything.
Why sensory bins may be a challenge for neurodivergent/disabled children
- Small parts are a choking hazard for a child who still mouths everything.
- A child who has a tendency to throw things across the room will create a huge mess but may also hurt/ damage other people/things, or even themselves.
- Sensory overload is an issue for children with sensory sensitivities. While we may want children to be exposed to different sensory experiences, some of the bins we find have so much going on that they may cause some children to shut down.
- Bins may be too deep or too difficult to reach into for a child in an adapted chair.
- Some bin themes do not meet the child’s developmental level.
- Some children cannot engage with this type of activity unattended. Because of the nature of the contents, you cannot just leave a sensory bin out for free-play like we see so many of the kids on Pinterest images do.
- Prolonged attention is difficult for some children—especially when something like a sensory bin doesn’t make sense to them.
Suggestions for adaptations/modifications for sensory bins
- Choose your container wisely. If the child can play with a bin while seated on the floor, the depth might not be a big issue. But, if the child is sitting on an adapted chair at a table, be sure not to select a container that is too deep. Ideally, sensory bins should be wide and shallow. Having a container with a lid is great if you want to reuse the bin for several weeks.
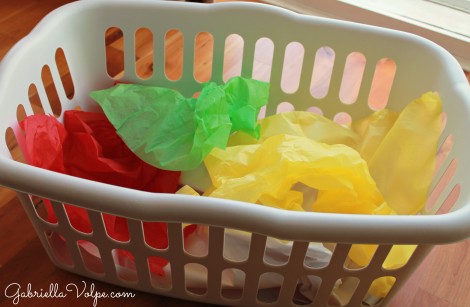
I started with a laundry basket and a variety of paper for tearing and crunching. While a laundry basket is deep, this is a great one to use for children who can sit on the floor to tilt it without everything falling out.
- Begin with one sensory component at a time. The main purpose of sensory bins is to help a child explore different sensations. Even one object can have many things, such as color, texture, and size. It can be an overload of sensations for a child if there are many different items in one bin! Over a span of time (days or even a couple of weeks), add one more element/variable and then yet another.
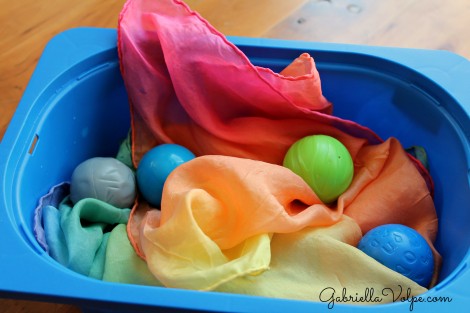
This is a small bin I have as part of a shelf unit. It’s small and it’s shallow. I added a silk scarf and some textured balls. Two categories of items make for a simple sensory bin.
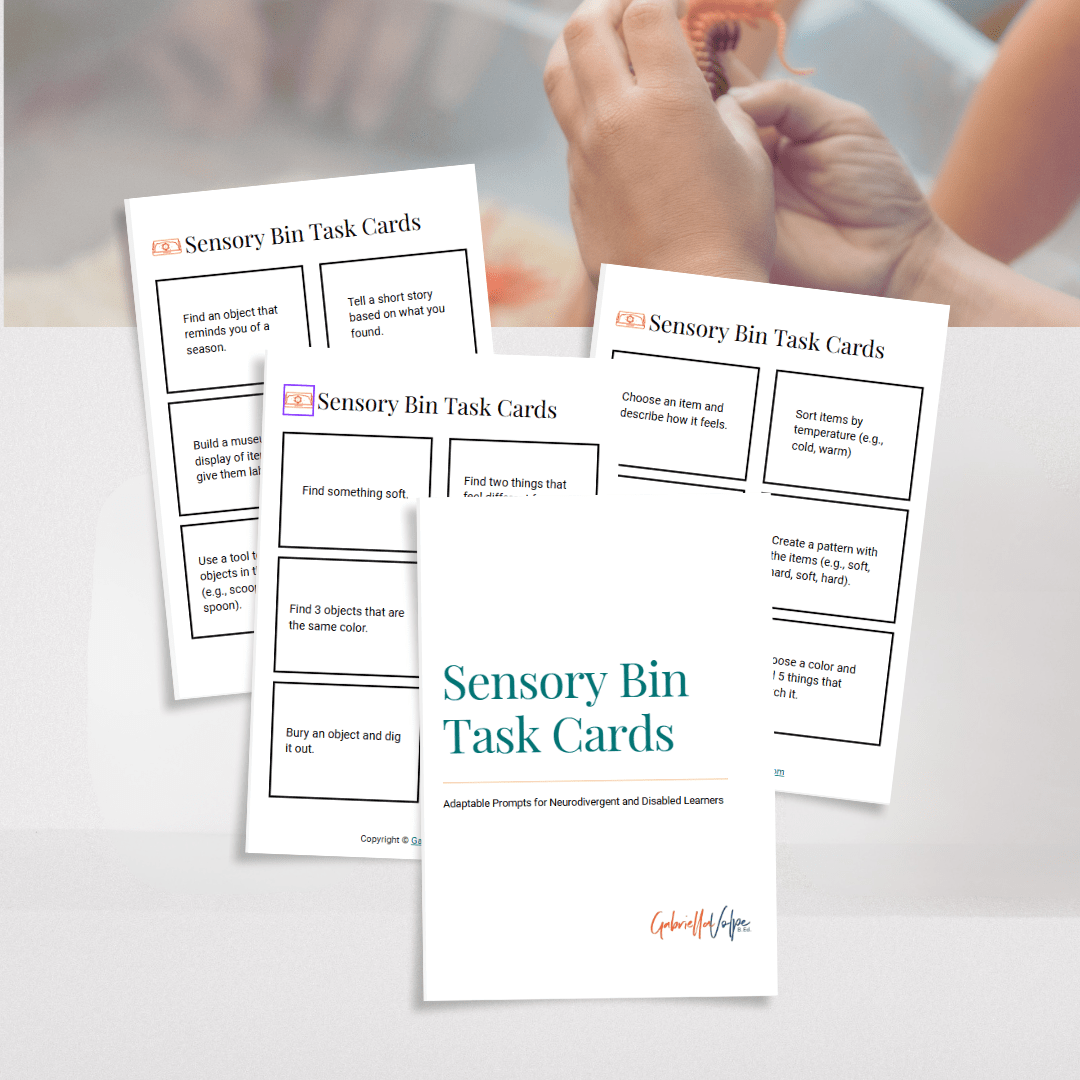
Sensory Bin Task Cards – Free!
Make sensory bin time more engaging with printable prompts designed for neurodivergent and disabled learners.
Sign up to have FREE sensory bin task cards delivered straight to your inbox!
By signing up, I’ll also add you to my mailing list. You can unsubscribe at any time.
- Select large-sized objects to fill the bin. Usually, there is a base element in a sensory bin. Pinterest is full of ideas for tiny things like pebbles, rice, or popcorn kernels. Avoid those items unless you know the child can manage them safely. Use large materials like newsprint paper, tissue paper, flannel sheets, fabric, large sheets of sandpaper, and silk scarves as base elements. Think of the largest items the child can explore safely for play. Some possible fillers are large wood chips or large stones (not for throwers).
- Use familiar objects first. What’s the point of placing objects your child already plays with within a bin? The novelty of having their wooden blocks sitting in a box surrounded by tissue paper is incredibly motivating. It allows a child to take the first step of reaching in and grabbing what they like. They are intrigued by the familiar object and just tackled the skill of pulling out an object from a container. When there is more than one item in there, they may get that additional sensory experience of touching two textures or hearing two sounds.
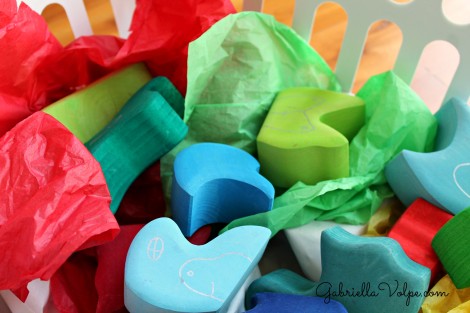
Colorful tissue paper and colorful irregular-shaped wooden blocks – are familiar toys among novelty.
- Eventually, introduce new objects in the bin. Sensory bins are exciting because they’re new and different from the child’s usual play routine. Get creative with safe objects. Some additional suggestions besides toys are child-sized utensils, tools for daily living like a comb, toothbrush, hairbrush, brushes of different kinds, etc.
- Build language skills. There are many opportunities for building language skills with these bins as there are a limited number of items but an unlimited number of words to go along with them. Besides the obvious labelling of objects (which helps build receptive language), you can use verbs in a verbal routine like: “Crunch, crunch, crunch the paper!” or “Tap, tap, tap the blocks,” or “Rolllllllll the ball.” After a while, you will connect some of the daily activities with the verbal routines you use during sensory bin-play (and vice versa).
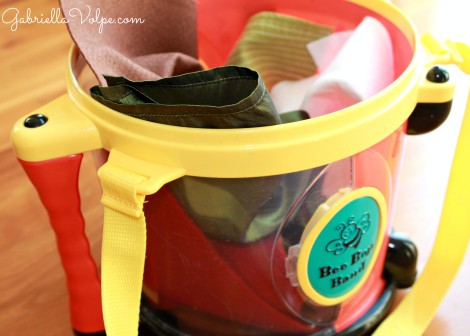
Anything can be used as a container. I emptied my son’s drum, which has a lid, and added large sheets of fabric: felt, cotton, and satin in various colors.
- Use the communication tools the child already uses. If the child uses ASL or AAC, be sure to incorporate them into the sensory play.
- Build excitement and success. For more language play, vary your excitement level as you introduce the objects or entice the child to find or touch certain objects. “Ooh! You found a ball! YAH!” or “Find ball. You found it!” or “What’s that? A block! WOW!” If the child is able to locate objects upon your request, reward them with praise. “You did it!” works wonderfully for my son. I simply need to say that phrase, and he inevitably requests MORE.
- Aim to target as many senses as possible over a period of time. You certainly don’t want sensory-overwhelm by having items that target all five senses at once. But, keep the five senses in mind when you don’t know how to plan the contents of a bin. Once the child gets the idea of what sensory bins are all about, you can combine two elements like touch and smell (add a drop of essential oil on newsprint paper), or touch and sight (tissue paper and colored blocks), or sound and touch (rattles of different textures). You will find the options limitless. I would avoid tasting for sensory bins because you don’t want to confuse the child who may already mouth objects.
- Keep it short. Don’t expect the child to sit for hours with sensory bins. If you are introducing these bins, start with 3 to 5 minutes. Build to 10, 15, then 20 minutes. And, really, if all the child will ever do is 5 minutes, celebrate that!
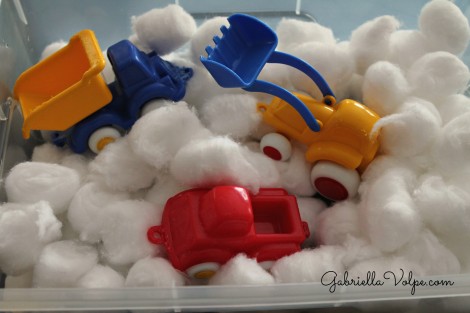
This was a winter-themed bin I prepared. It contains large cotton balls and a few of my son’s construction trucks. I have to say; because of the smaller balls, I watched my little guy like a hawk. However, he never once tried to mouth them because he didn’t care for the texture much.
- Use different body parts. If the child cannot use their hands, what about their feet? Place a sensory bin at their feet and have them shuffle around in there! In that case, you can use just about anything without having to worry about mouthing the items. You might consider having them squish about in pudding, dirt, or even cooked but cooled spaghetti!
- Build developmentally-appropriate boxes. If the ideas above are just too easy for the child, bump it up! Children of all ages can benefit from sensory bins. Older children may be more interested in scientific items, water-play (a sensory bin too), or play with dirt, sand, and flour.
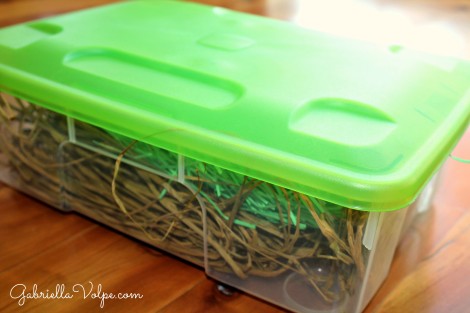
This is an example of a sensory box with a lid. One spring, I prepared a farm-based theme using straw (which can get messy enough to warrant a lid when storing) and farm animals. While I worried about the raffia, my little guy never placed it in his mouth. This indicates to me that I can continue using this as a base from time to time.
It’s important to note that no matter how advanced the child is, an adult should always supervise sensory bin activities.
Have more ideas? Please share them! How do you play with sensory bins?
If you’re looking for ideas for sensory activities for a child beyond sensory bins, I offer consultations for parents and educators of neurodivergent and disabled children. I’d love to connect with you.

What good ideas you came up with! thank you for the pictures.
When I saw the winter-themed sensory bin, I felt ANY child would be interested in such a bin.
Looking forward to read the rest of your posts.
Thank you for being here, Chantal. Most children love sensory bins – you’re so right! But, not all kids are able to easily manipulate the objects contained within. The winter-themed one was a worrisome one for me at first with the size of the cotton balls. However, I know my son well enough to know that it’s a texture he wouldn’t want to mouth. It was hard enough to get him to touch them, but since he loves those plastic vehicles, I knew he’d have to reach in to get them. Even if he only just brushed the cotton balls with his hands, he was exposed to a new texture. (Sneaky mom!) Regardless, I always recommend supervision with sensory bins.
Thank you for writing this! We are a homeschooling family in the middle of adopting a special needs little boy and I am going to keep coming back for ideas!
How exciting, Heather! Wishing you and your family the very best as this precious child joins your life! Thank you for letting me know you’re here.